I have some sewing content to post first. My purse's strap fell off, and although I tweaked it there was no saving the thing. I looked in the stores and there were a few purses that met my specifications... unfortunately I'm not made of money so I didn't buy any of them.
I had been playing around with craft bags made from placemats and this idea began fomenting in my brain (yes, I meant "fomenting" and not "fermenting"). An idea for a lining. An idea which continued to grow in complexity but whose most defining feature was an inner pocket with a nifty zip. And the idea expanded to include a top covering with zipper (because my purses inevitably end up upside-down at some point).
I couldn't shake the idea and after a couple of days of hedging I began my quest for a purse! Behold, my vision completed:
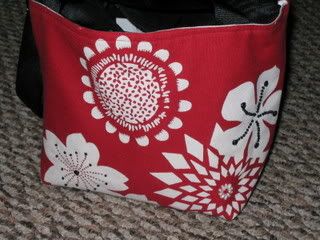
This pic shows the front, including the black onyx & pearl beads I added. I had black material for the lining so I needed some black accents on the bag. The pearls are hard to see but they're in the center of the bottom right flower (they're freshwater pearls that are shaped like rice crispies).
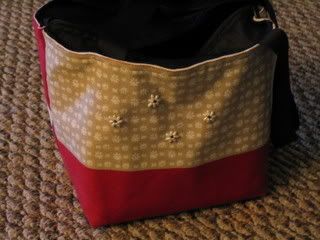
The back of the bag with my beadwork.
Look at that cute lining!
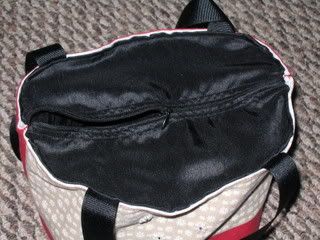
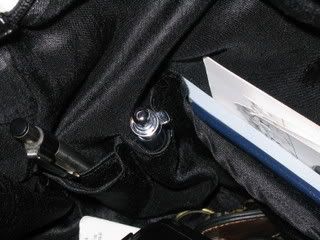
This shows the pocket opening (idea) that possessed my brain. I am particularly proud of it.
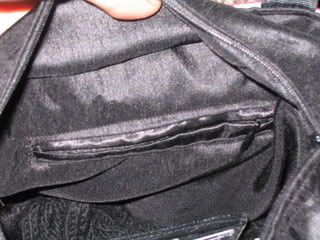
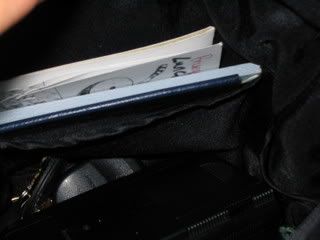
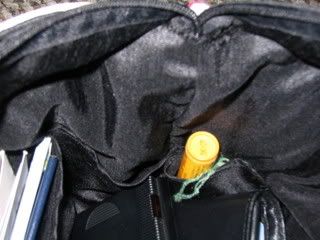
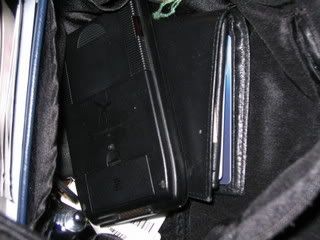
The rest of the pictures show the interior, with various pockets for my junk.
Oh yeah, I got the cute placemat from World Market. It's fun and easy to make your own placemat bag, they don't need a lining to be handy. Just fold it in half and sew up the sides, then fold in a very short triangle on each bottom corner (making sure they match) and sew it on the wrong side. Add some ribbon for handles and you're set! Perfect for carrying small knitting projects.


No comments:
Post a Comment