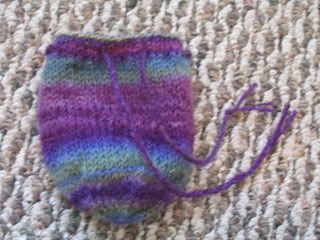
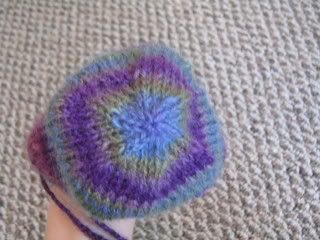
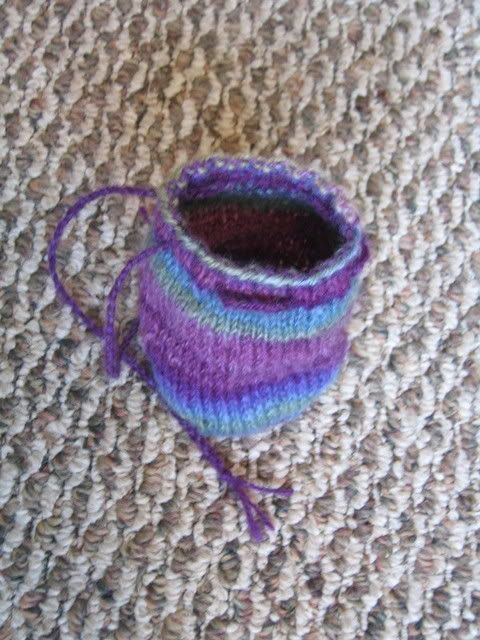
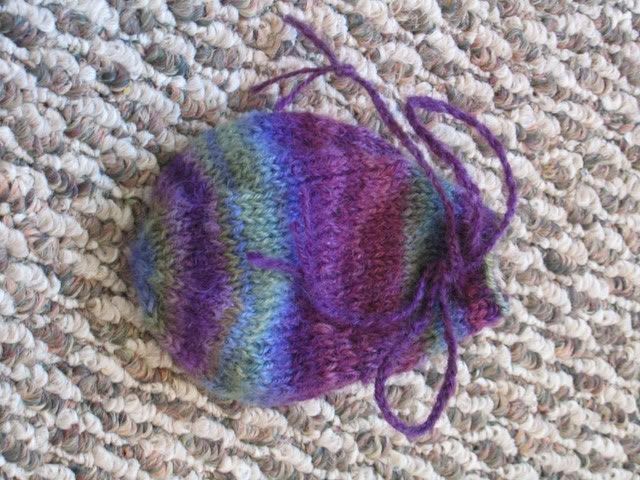
This is another feeling sorry for myself knit. While I was making the bitty diaper cover I thought "Hey, this would make a neat bag!" So I knit up a little bag. I was kind of thinking of using it for myself as a coin bag, or a throw just a few essentials in it and run bag... but when I showed it to my husband he said:
"That looks pretty good. You know, that's more the size I was needing for my dicebag..."
;^) Hehe, I was kind of thinking that myself as I was nearing the end of it. But he's going to have to wait until I've shown it off to get it.
Sunday, April 29, 2007
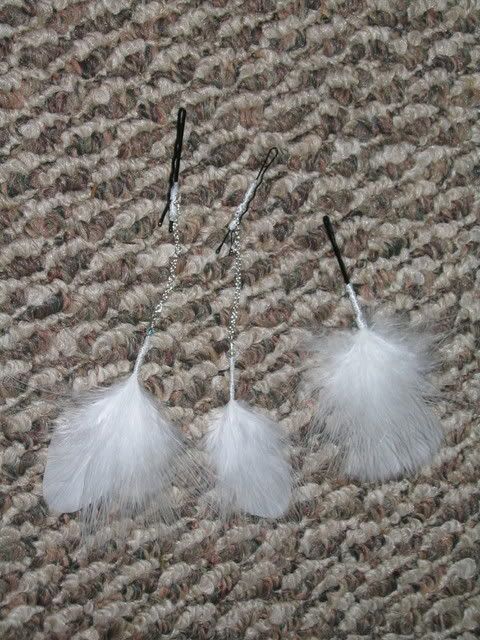
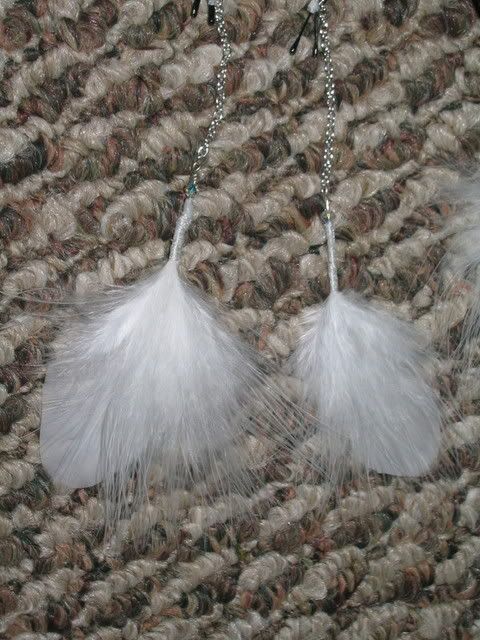
Feathers In Your Hair
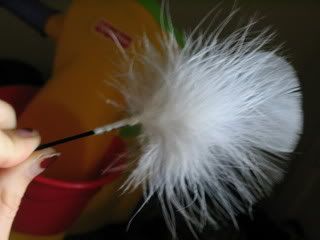
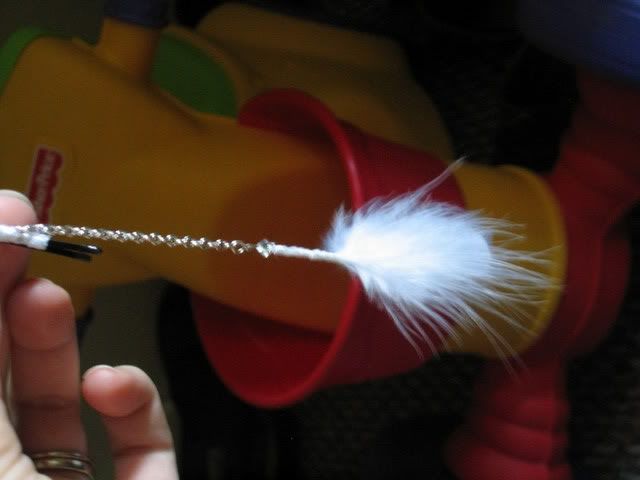
I saw something similar on etsy once, and I was so inspired I had to try my hand at making some. Except mine are better, of course. Well, they are different at least.
The chain and crystal bead were completely my idea, and even the plain one has more interesting feathers than the inspiration. I would show you how they look in hair, but I'm still sick and I look pretty icky.
Cutesy Patootsie
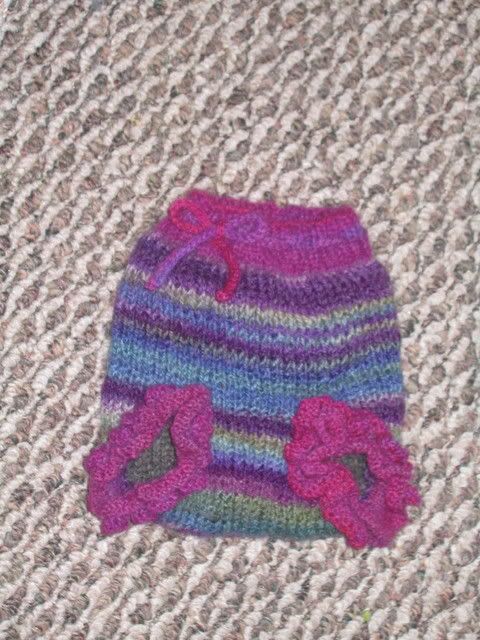
I've been yucky sick for the last week. Instead of working on the knitting and sewing projects I had already started, I started something new and frivolous! Frivolous, because I don't have a girl and I'm not pregnant. At least as far as I know (strong declarative statements just invite fate to prove you wrong...and make you look stupid at the same time).
I did eventually convince myself to work on the other things I had already started but I still have yet to do any chores this week. Poor, poor husband has been doing the dishes all week.
This is the front:
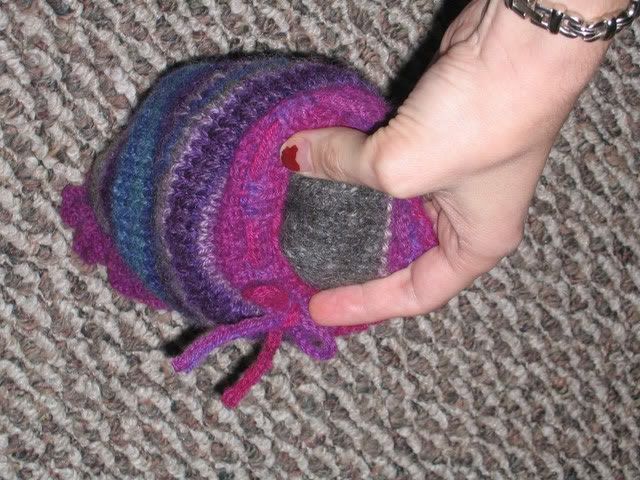
It's lined!
Another view of the lining:
I made the entire thing out of yarn that I spun myself. The waistband and cuffs were spun from roving that I dyed, and the outside was handdyed roving that I received for my sock swap. The lining was some delicious shetland wool/mohair/angora blend roving that I bought from Avillion Farm in Apex. Check her site out, she does online orders too.
I wasn't actually planning to line the thing, but it was a bit too airy and I wanted it to be functional too. I do regret adding the frills to the cuffs, but maybe it will look cuter on a baby.
Pattern used was slightly modified from Ms. Crafty Galore's gem, found here on punk knitters: Punk Knitters Basic Soaker Pattern.
Saturday, April 14, 2007
And Some Booties, Too
My first attempt at a handspun single in a very nice merino/silk blend. Unfortunately the roving was not smooth enough throughout for me to spin an even single so I stopped early.
And then I sucked it up and tried dyeing it, with more than partial success (although it still wasn't really the color I was aiming for).
Perfect amount, weight, color and softness for some sweet little booties. Just need to add some snaps. The pattern is from Debbie Bliss' BabyKnits book (or some similar title).
Recycled Yarn Baby Dress
I have made a wonderful discovery near my house. A thrift store that is frequently less expensive than Goodwill and which almost always has some silk and cashmere sweaters.
When I first discovered this gem I only bought a few sweaters, and my first attempt at recycling was a pink cashmere cardigan. I bungled one of the sleeves a bit and the seams on the front pieces were so worn that it wasn't worth splicing the thread at the end of each row. Even at that I ended up with a ball of laceweight (the original weight) and fingering/dk weight (3-ply).
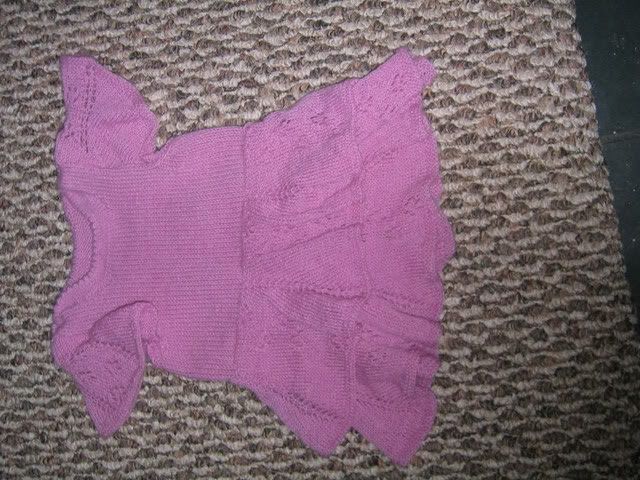
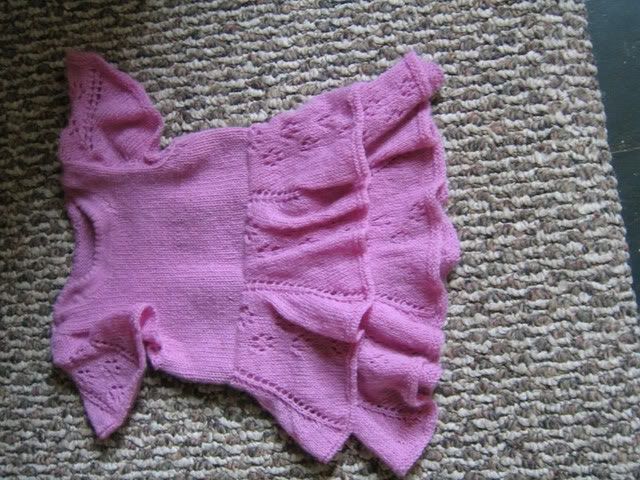
I have a sketchbook where I try to write down any idea I have for a design. When I get to a point where I have the yarn and inclination to go through with it I'll write down details of sizing and parts of the pattern there too. Once I had this cashmere yarn wound up I was leafing through the book and found where I had sketched out a little baby dress, with ruffly skirt and butterfly sleeves. Perfect!
I didn't really want to design out the body and I got lucky enough to find a baby singlet pattern in the right gauge. Thank you, Just Jussi! I left out the ribbing parts and did a picot trim at the neckline and added lace on the sleeves and bottom.
With flash, the left sleeve is folded to show the lace part:
Without flash:
Hehe, now I just need a girl baby (there's no way I'm giving this one away - it was a lot more annoying to make than I was expecting!)
Dyeing Gone Right
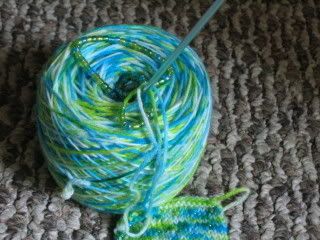
Finally, yarn that looks as saturated as I thought it would from the dye mix. I'm not sure if it's because I used easter egg dyeing tabs, or because I used superwash wool, but I love these colors!
Yarn, threaded with beads that conveniently matched every color in the yarn (complete and amazing coincidence).
And now I can't stop swatching this gorgeous yarn. Could I have sold it? Probably, but it's mine all mine!!
P.S. - Easter egg dye is on sale right now.... ;^)
Yarn, threaded with beads that conveniently matched every color in the yarn (complete and amazing coincidence).
And now I can't stop swatching this gorgeous yarn. Could I have sold it? Probably, but it's mine all mine!!
P.S. - Easter egg dye is on sale right now.... ;^)
Wedding Jewelry
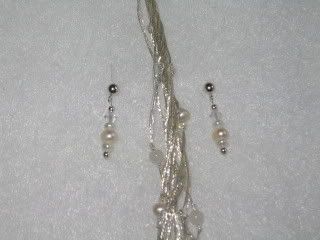
I made this pair of earrings for a friend's wedding. She had already found the necklace but was having a hard time finding earrings in a coordinating style.
They're actually not put together in the pic - I added a short chain (she insisted on keeping it short) to give them just a little swing. As soon as I get ahold of some of the professional pics from the wedding I'll show off the coordinating garter that I helped her out with too! Plus nicer pics of the earrings, of course.
I had some pearls and silver beads in my stash, and she hunted down some pearls and swarovski crystals that matched her necklace. I was so inspired by making the earrings that I started making stitch markers for my knitting group in a similar style. Fancy pants stitch markers actually do give me a little more motivation to get another round done! I'll try to get some more pics taken soon, but my camera is pretty limited on close-up ability.
Friday, April 13, 2007
The Socks...
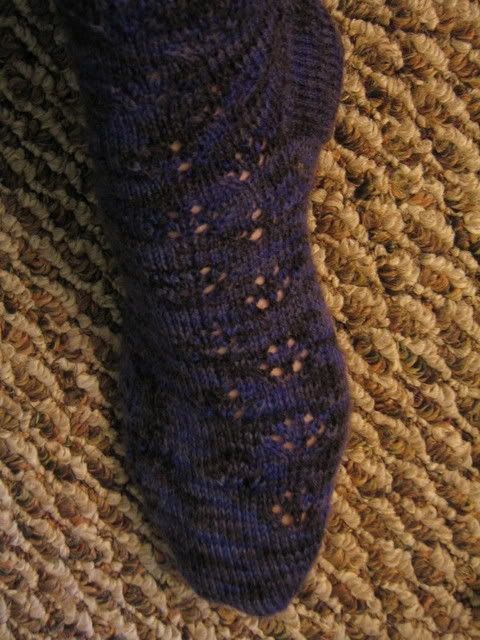
For the trade. Yes, I finished them almost a month ago and gave them to the recipient. I received my lovely hand-dyed roving ages ago. And now you get to look at these socks! Yay!
I took too many pics and although I have edited them I'm too lazy to sort them so you get to look at all of the pics. Yup. Don't make fun of my hairy legs, it was too cold to shave at the time. *Ahem.*
Pictures, Finally!
Whew, it's been a while. I've been having so much fun cruising everyone else's blog and putting off my picture editing for this one!
I have some sewing content to post first. My purse's strap fell off, and although I tweaked it there was no saving the thing. I looked in the stores and there were a few purses that met my specifications... unfortunately I'm not made of money so I didn't buy any of them.
I had been playing around with craft bags made from placemats and this idea began fomenting in my brain (yes, I meant "fomenting" and not "fermenting"). An idea for a lining. An idea which continued to grow in complexity but whose most defining feature was an inner pocket with a nifty zip. And the idea expanded to include a top covering with zipper (because my purses inevitably end up upside-down at some point).
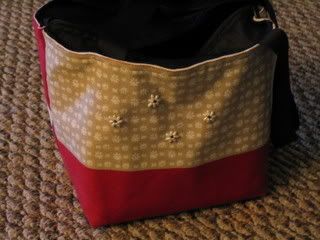
I couldn't shake the idea and after a couple of days of hedging I began my quest for a purse! Behold, my vision completed:
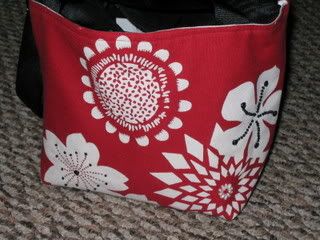
This pic shows the front, including the black onyx & pearl beads I added. I had black material for the lining so I needed some black accents on the bag. The pearls are hard to see but they're in the center of the bottom right flower (they're freshwater pearls that are shaped like rice crispies).
The back of the bag with my beadwork.
Look at that cute lining!
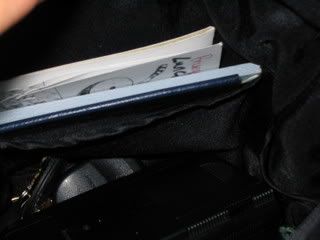
This shows the pocket opening (idea) that possessed my brain. I am particularly proud of it.
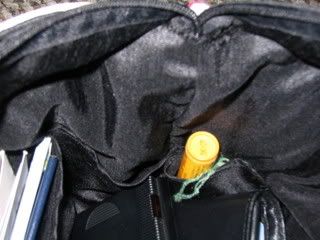
The rest of the pictures show the interior, with various pockets for my junk.
Oh yeah, I got the cute placemat from World Market. It's fun and easy to make your own placemat bag, they don't need a lining to be handy. Just fold it in half and sew up the sides, then fold in a very short triangle on each bottom corner (making sure they match) and sew it on the wrong side. Add some ribbon for handles and you're set! Perfect for carrying small knitting projects.
I have some sewing content to post first. My purse's strap fell off, and although I tweaked it there was no saving the thing. I looked in the stores and there were a few purses that met my specifications... unfortunately I'm not made of money so I didn't buy any of them.
I had been playing around with craft bags made from placemats and this idea began fomenting in my brain (yes, I meant "fomenting" and not "fermenting"). An idea for a lining. An idea which continued to grow in complexity but whose most defining feature was an inner pocket with a nifty zip. And the idea expanded to include a top covering with zipper (because my purses inevitably end up upside-down at some point).
I couldn't shake the idea and after a couple of days of hedging I began my quest for a purse! Behold, my vision completed:
This pic shows the front, including the black onyx & pearl beads I added. I had black material for the lining so I needed some black accents on the bag. The pearls are hard to see but they're in the center of the bottom right flower (they're freshwater pearls that are shaped like rice crispies).
The back of the bag with my beadwork.
Look at that cute lining!
This shows the pocket opening (idea) that possessed my brain. I am particularly proud of it.
The rest of the pictures show the interior, with various pockets for my junk.
Oh yeah, I got the cute placemat from World Market. It's fun and easy to make your own placemat bag, they don't need a lining to be handy. Just fold it in half and sew up the sides, then fold in a very short triangle on each bottom corner (making sure they match) and sew it on the wrong side. Add some ribbon for handles and you're set! Perfect for carrying small knitting projects.
Subscribe to:
Posts (Atom)