I should be finishing some things up in the next few weeks. It's the upside of cast-on-itis. I keep casting on new things and have a ton of WIPs, and just work on them for ages... then all of a sudden they all seem to get finished at the same time!
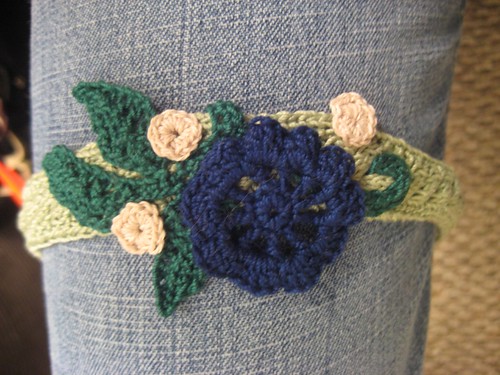
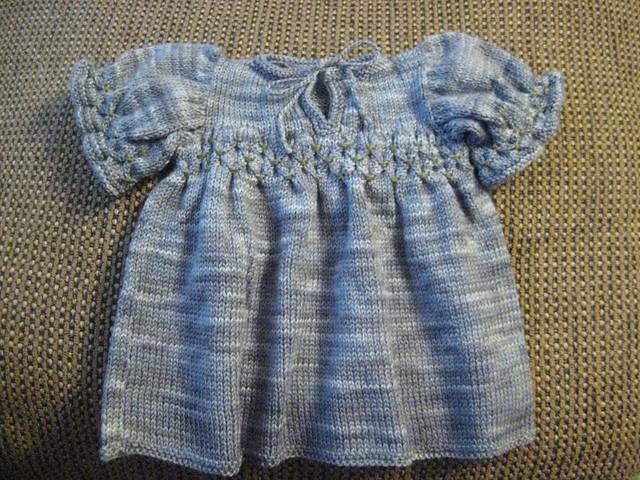
Have a look at this one. I started this headband ages ago (as in well before Christmas), with only a vague idea of who it would be given to. I have a friend who just had her baby girl, and my cousin has a little girl who is right around 15 months. I think...
Well, I got to see my cousin over the holiday and her little cutie is just starting to get her hair. My friend's baby was born with a head full! Two weeks now and the newborn has hair halfway down the back of her neck.
So... I figured my cousin's little girl would get the most use out of it. :^)
I started with the idea of following another pattern, but I have altered it so completely that the only resemblance to the original pattern is the fact that it is a headband at all.
The little scrolls don't really show up this well in real life.
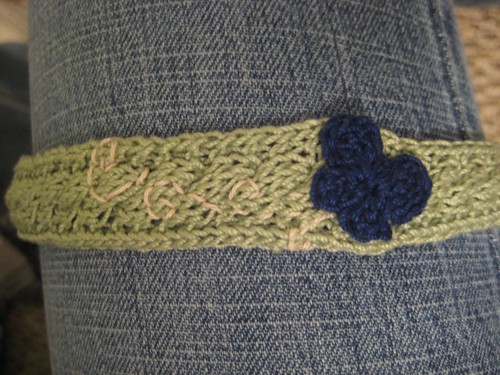
(Also makes a nice garter, hey? Hehe).
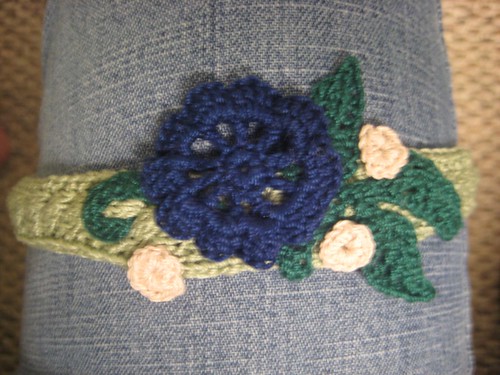
It can be worn with the flower in either position, although the butterfly might seem a little upside down. The butterfly is on the seam - I think I did a pretty good job with it.
The cable pattern for the band follows:
--------------------------- Headband Pattern ---------------------------
Gauge: Unimportant.
Yarn: Aunt Lydia's Classic Crochet Cotton, Size 10
Needles: US #2
Pattern:
CO 12 stitches with twisted cast-on.
1. Purl across.
2. K2, P1, K6, P1, K2.
3. Purl across.
4. K2, P1, 3x3 cable, P1, K2.
Knit in pattern until piece measures the circumference of the baby's head when stretched an appropriate amount. (Stretch the headband, not the baby's head). End on row 4 if at all possible, and keep your stitches live.
Seaming:
Cut about 6 inches or so of yarn and thread a tapestry needle. Start a kitchener stitch on your live stitches by inserting the needle through the last stitch knit-wise (the needle with your live stitches should be above with wrong side facing you, and your cast-on edge should be below with right side facing you). Insert the needle from the right outside edge and behind both bars of the right-most stitch below the cast-on edge. Continue with the kitchener on your knitting needle: insert the tapestry needle purl-wise through the stitch and drop it off, then insert the needle knit-wise into the next stitch. This time, insert your tapestry needle from the front and right side of the next stitch, pass beneath both bars of this stitch and bring the needle back to the front. You may notice that your seaming on the cast-on edge strongly resemble mattress stitch. Continue in this manner, occasionally tugging very gently to give this "row" similar tension to the rest of your knitting, until all stitches have been bound off. Weave in your ends on the back, and finish by tying the two ends in a tight square knot. Slick cotton is sneaky.
Now make some leaves, flowers, butterflies, bugs, etc and embellish to your heart's content. I used crochet but there are also knitted patterns for nature motifs. Embroidery is also pretty on this headband.
Copyright 2008 © Elizabeth Thomas
Free for personal use. Do not sell this pattern. Do not distribute this pattern (except by linking directly to it here). Do not sell items made from this pattern without my express written permission.


No comments:
Post a Comment